


How to Create a Realistic Wood Texture in Adobe Photoshop
Ever used the wood texture in Adobe Photoshop? It gives you a wood texture, but it looks like it's straight from the sawmill. If you want a wood texture with a deep, polished, antique effect, follow this tutorial.
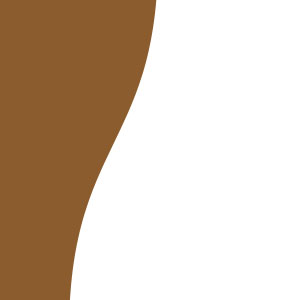
1 – Creating an area for the Wood Texture
 In Adobe Photoshop, select an area that you'd like to give a wood texture to, and fill it with a brown colour. I created my shape using the Freeform Pen Tool, but that's optional.

2 – Adding a Gradient
 Create a new layer, but keep the area selected.
 Click on the Gradient Tool, and click on the visual representation of the gradient. Change it from Solid to Noise. Keep randomising it until you're happy with it. Apply the gradient vertically. Hold Shift to make it exact. (In Adobe Photoshop, holding down Shift will make most tools function in a straight line.)

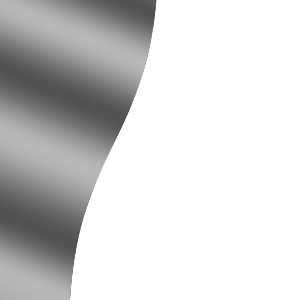
3 – Adding another Gradient
Make another layer, and repeat the process. (Remember to click on the visual representation of the gradient and randomize it.) Each of these layers helps to form the grain of the wood texture.

4 – Yet another Gradient
And one more. :) (This gradient is very funky, but I was worried about the very dark bit at the bottom.)
5 – Altering the Gradient Layers
Desaturate each of your gradient layers, by clicking on it and pressing Ctrl+Shift+U. This makes them greyscale.
Change all the gradient layers from Normal to Soft Light.
For each gradient layer, click Filter > Distort > Wave. Set both Amplitude sliders to 1. Randomise the waves until you're happy with them. This slight wave is more typical of a real-life wood texture.
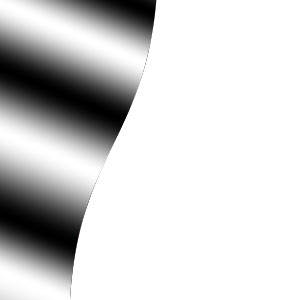
6 – Adding light, with... a Gradient!
To brighten up the wood texture (I hope you still have the area selected), fill it with a black-white-black-white gradient. To do this, click on the visual representation of the gradient, and put in a few new black and white tabs.
Apply the gradient at a slight diagonal across the image.
7 – Softening the Light
Click Image > Adjustments > Brightness/Contrast, and lower the Contrast. If this isn't done, the lighting will be very harsh, and your nice wood texture will look more like the door to a crypt. :)
Change the layer from normal to Overlay.
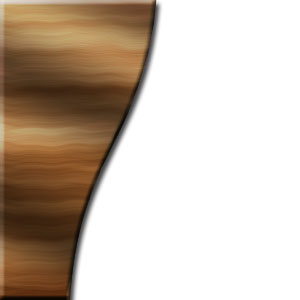
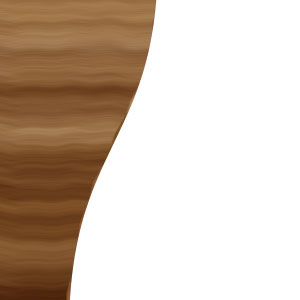
8 – The Finishing Touches
Done! Double-click your base wood texture layer, and give it a Bevel and Drop Shadow for extra effect.
Select the base wood texture layer and press Ctrl+U. Play with the sliders until your wood texture is golden brown. :)
