


Sunlight Web Design Tutorial – Page 2 of 2
This page covers the addition of the foreground objects.
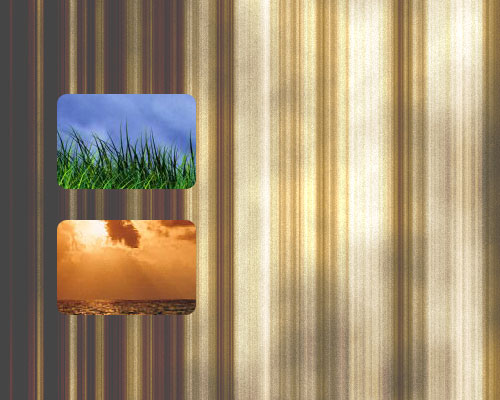
5 – Little pictures
The "sunlight" effect creates a good background, but it needs to be livened up a bit. Using some small, colourful pictures as navigation buttons is ideal here.
Creating the rounded edges for these pictures requires the Rounded Rectangle Tool.
 Hold down on the Shape Tool, to get the Rounded Rectangle Tool. At the top left of the screen, there will be three little boxes. Click on the middle one (called "Paths".) Click File > Open, and choose one of the pictures you want to use. Use the Rounded Rectangle Tool to draw a rounded rectangle on your image. It will appear as a line (called a "path".)
 Select the Freeform Pen Tool (or any other Pen Tool), and right-click your path. Choose "Make Selection", to turn the path into a selected area.
Press Ctrl+C to copy the contents of the selected area, then go to your main image we've been working on, and press Ctrl+V to paste the selection in.
 Repeat this process to add another picture. While you have any Selection Tool selected, you can drag the selection outline to another image, so you can re-use it.
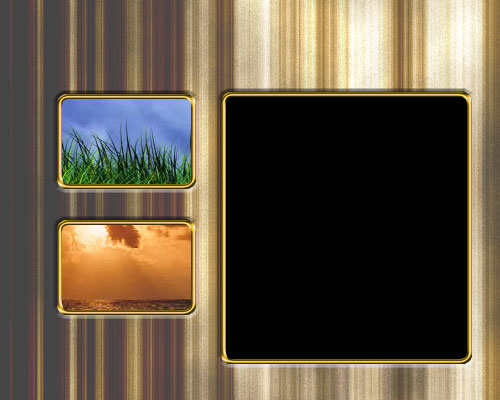
6 – Picture frames
On a new layer, use the Rounded Rectangle Tool to create a large, black area.
To indent the pictures into the background, double-click their layer, and give them a Bevel. Choose Outer Bevel, Size 3.
 Create a new layer.
To make the picture frames, Ctrl+Click on a picture layer in the Layers list. This should select an outline of the picture.
 Fill the area with an orangey colour (I used #DEAE17)
Click Select > Modify > Contract. Set it to 5 pixels.
Press Delete. This will just leave a thin border around the picture.
Double-click on this layer in the layers list. Give it an Inner Bevel, with the Gloss Contour set to "Ring". This gives the frame a metallic shine.
Repeat this process to create your other frames.
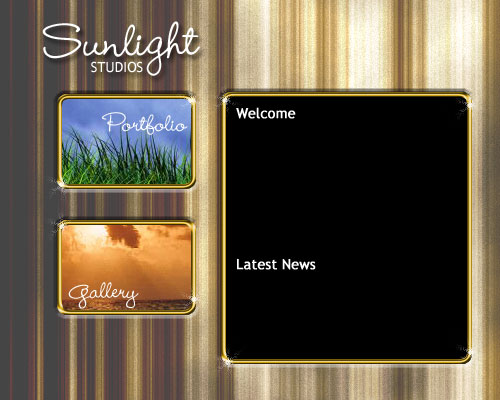
7 – Highlights
 Add some white text to your picture buttons. I've used the Wendy Medium font here. Use the same font, and type in your header. I've used the Trebuchet font for the "Welcome" and "Latest News" headers. You might want to do these on a separate image, so they're not attached to your background. You could just type these in in your web editor, but they look better when they're done in Photoshop. Double-click your header text layers, and give them a standard Drop Shadow.
Create a new layer.
 Look at the edge of the frames. You'll notice some nice sparkles have been added. To create these, select the Brush Tool and set your Foreground Colour to white. From the drop-down menu at the top left, select the 55-sized sparkly-looking brush. It's about 2/3 of the way down the list. Apply it to the edges of your frames in a few places.
|
Welcome to our website. Please have a look at our Portfolio and Gallery. |
8 – Saving for the Web
 Before finishing, and optional extra step is to use the Lasso Tool to select and delete a jagged strip from the bottom of your "sunlight" and Clouds layers, then give the sunlight layer a drop Shadow. Alternatively, if you know how, you can just cut out a horizontal "sliver" (a one-pixel slice of your image) that can be set as the background of a cell or table in your web editor, to fill up the whole height of the screen. If you're not familiar with these processes, just ignore this step.
 Use the Slice Tool to divide your image vertically, into two halves. Then click File > Save for Web (Jpeg, Quality 60).
In your web editor, make a table with two cells. Insert the left half of the image into the left cell, and set the right half of the image as the background of the right cell (this is done so that you can type text onto it.)
Depending on which web editor you're using, you can then use Image Maps or Hotspots to turn the little framed pictures into links.
Done! :)
