


Silhouette Website Header – Page 1 of 4
Use Adobe Photoshop to create a moonlit silhouette, for use as a website header.
1 – Outline of the hills
In this first step, we'll be creating the outline of some craggy hills.
Click File > New, to create a new image. Choose a width and height. Around 750px by 300px is about right.
 Create a new layer.
 With the Lasso Tool, draw a rough and undulating outline, as shown above. Don't stop at the end of the image though. Keep going down, and then across the bottom. You want to select this whole area. Keep redoing this step until you're happy with it.
 Use the Paint Bucket tool to fill the area with black.
Press Ctrl+D to deselect.
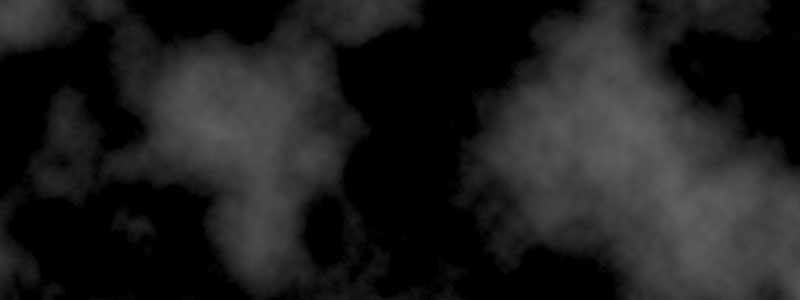
2 – Realistic clouds
Create a new layer. In the Layers window, drag it below Layer 1. (We want the sky to be behind the hills, not in front of them.)
I've clicked the eye icon beside the "hills" layer, to hide it for now, so we can just see the clouds.
Click Filter > Render > Clouds. This will create some fairly uniform clouds.
To make the clouds more realistic, we'll need to use Levels. Click Image > Adjustments > Levels (or press Ctrl+L).
This window is a big bar graph of how much of all the different shades of grey make up this image. As you can see, there are almost no very black or very white tones in this image. It's mostly medium greys. In a real-life cloudy night sky, there will be large areas of black, and some clouds - not a haze of random cloudy bits.
Drag the Black Point slider (the little black one) towards the centre. This defines a new black for your image. Any colours at that point on the graph (or to the left of it), will now be pitch black.
Drag the Midtone slider to the left a little bit too.
You can also soften the clouds a bit, by moving the white slider on the Output Levels.
Press OK.
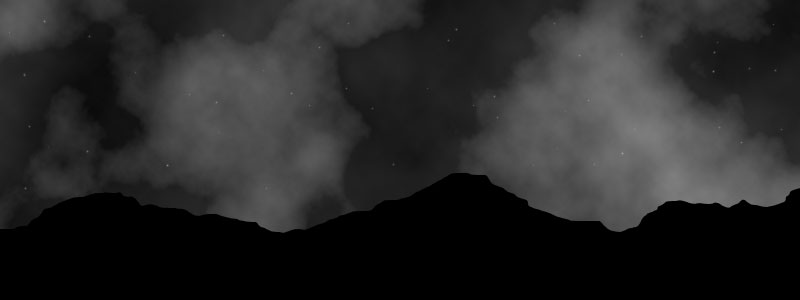
3 – Stars and subtle clouds
Create a new layer. Drag it below the "hills" layer if necessary.
Click Filter > Render > Clouds. In the Layers window, reduce this layer's opacity to about 25%. These clouds just add some faint detail.
Create a new layer.
 To add some stars, use the Brush Tool. Choose the size 3 brush. If you want, you can use the Brushes window (Window > Brushes, if you can't find it), and put in some dynamics. A Size Jitter and Brightness Jitter, each of 50%, will make your stars more varied and realistic looking. Either way, use the brush to dot in some stars. When you're finished, reduce the layer's opacity, to soften the stars a bit. (I reduced it to 45%.)
