


Open Book With Pages – Page 3 of 3
The last stage of this tutorial involves adding a hard cover to the book, and inserting a light-blue textured paper lining on the inside of that cover.
8 – Shape of the book cover
 Use the Rectangle Tool to draw a large, light-blue rectangle that's just bigger than your pages. Try to keep it close at the top and bottom. It can stick out a little bit at the sides though.
Drag this new layer to the bottom of the layers list, so it's only above the green background.
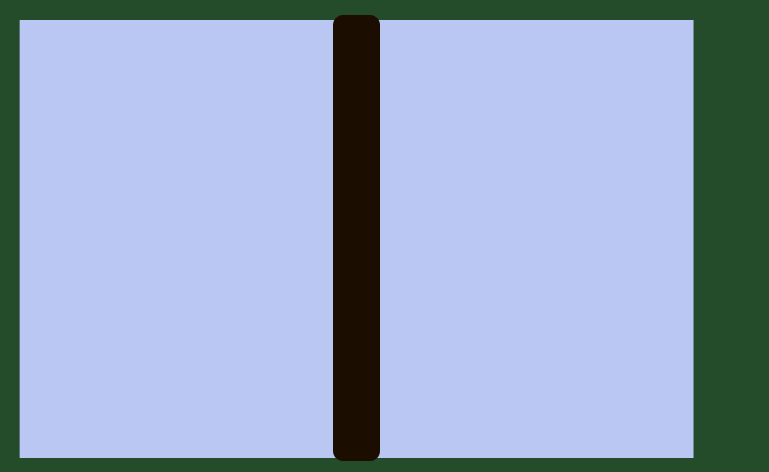
9 – Adding a spine
 Choose a very dark brown colour (I used 1d0e00). Use the Rounded Rectangle Tool, with a radius of about 10px, to draw a shape as shown. It should extend outside the blue area just slightly.
Turn the page and bookmark sets on and off as you need to, by clicking the eye next to them, in the Layers window.
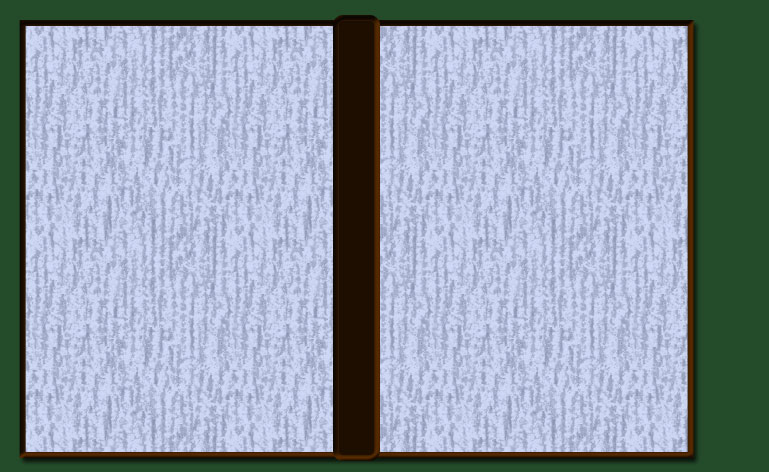
10 – Adding effects to the book cover
Give the blue area:
- Drop Shadow
- Bevel (Depth: 62%. Size: 6. Gloss Contour: Ring. Highlight Mode: Overlay.)
- Pattern Overlay (Opacity 28%. I recommend the Wax Crayon on Charcoal Paper pattern, if you have it. Click the tiny right-facing arrow, and choose Grayscale Paper.)
- Stroke (Size: 6. Position: Inside. Colour: A dark brown. I used 311800.)
Right-click this layer, and click Copy Layer Style. Paste this layer style to the spine layer, then remove the Drop Shadow and Pattern overlay from the spine layer.
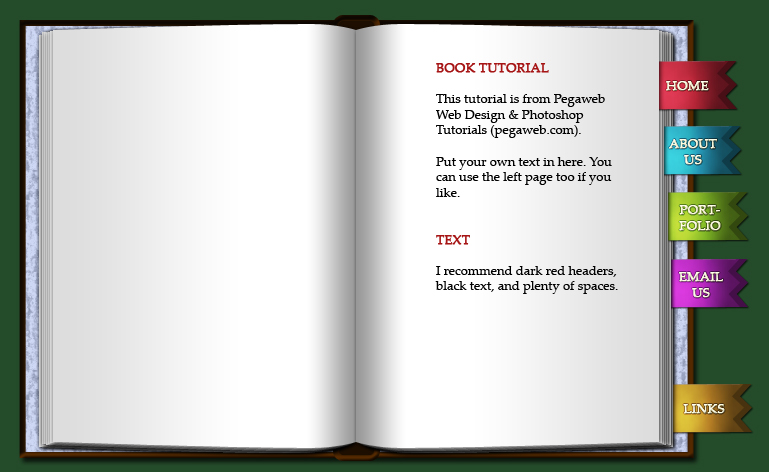
11 – Finishing up
Turn all the layers back on.
 You can either put text on your book in Photoshop, or in your web editor. The text doesn't precisely follow the contour of the curved page, but that's not really noticeable here.
