


Leafy Villa – Page 3 of 3
This page of the tutorial goes into adding the picture, and slicing up the image, for the web.
9 – Adding a photo
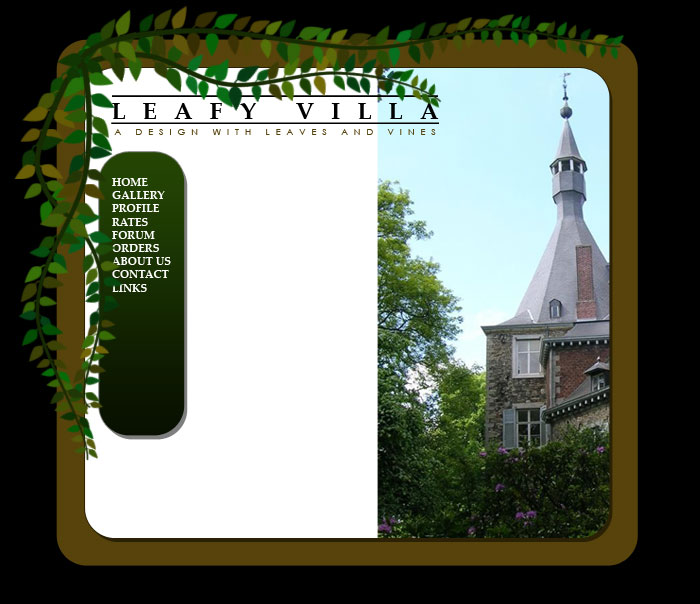
 Find a large photo, and drag it into your image, with the Move Tool.
In the Layers window, drag the photo so that it's just above your white layer.
Press Ctrl+T to transform your picture. Hold Shift, and drag a corner in. (Holding Shift stops the image from distorting.)
Click Layer > Create Clipping Mask. A clipping mask can't extend outside the layer below it. In this case, it means that the photo won't go outside the white layer. (The whole photo is still there, though, so you can still move it around.)
10 – Brushing some edges
 Create a new layer.
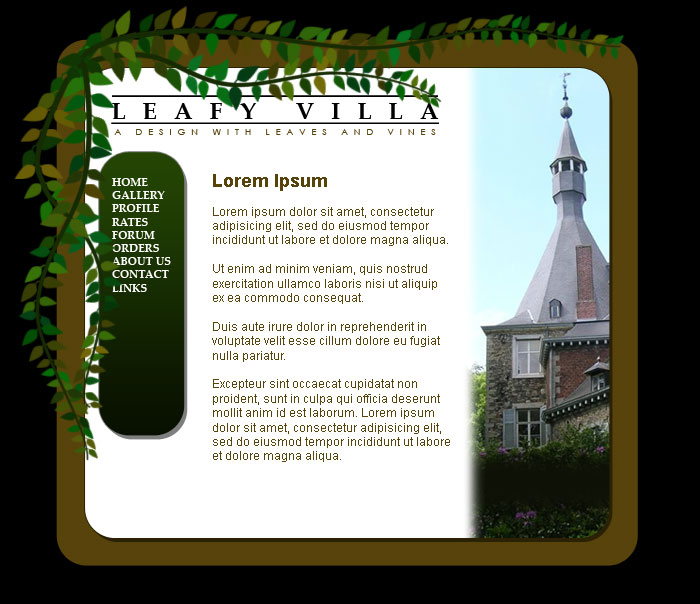
 Click on the Brush Tool. Choose a diffuse round brush (I used Soft Round 45.) While holding Shift (this makes the line straight), paint a dark green (or other appropriate colour) line across your image, towards the bottom. This area will be an area that will expand as you put text in, in your web editor. Make sure this line is below the level of your menu and all your vines on the left.
Set your foreground colour to white, and paint out the left side of the image (again holding Shift, so your line is perfectly vertical.)
11 – Slicing up the image
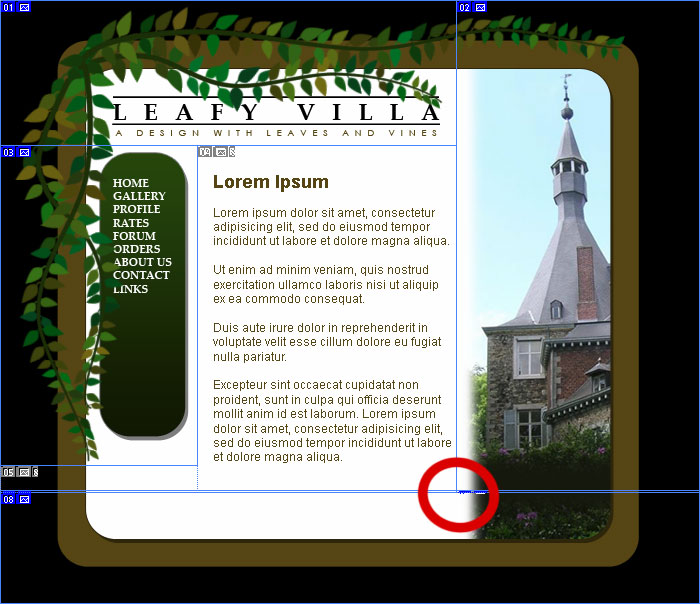
 Click on the Slice Tool (it shares a spot with the Crop Tool.) Use it to slice up the image, as shown. Note the two very narrow (one pixel tall) slices. I've put a red circle around the point where they meet. Each of these slices will be a repeated background. You may need to zoom in (Ctrl +) to get this right. Slices 04 and 05 won't be used.
Click File > Save for Web, and save each slice. (JPEG, quality 60 is best.)
|
Set the longer one-pixel slice as the background of this cell. Put the header (01), and menu (03) slices into this table. Right-click on the menu image, and set its word-wrapping properties, so that text wraps around it. You'll also want to make the text on the menu into hotspots / image maps, so that you can click on that part of the image, and be taken to the appropriate page. |
Put your picture (02) into this cell. Set the other one-pixel slice as the background of this cell. |
|
Put your footer (08) into this cell. |
|
12 – Putting the slices together in a table
If you use CSS, and not tables, then you already know how to do this, so you can skip this step. Your adventure ends here. :)
There are many different web editors around, so I can't give precise instructions for how to put your website templates together. It should be fairly straightforward though.
Open up your web editor, and insert a table, two rows high, and one column wide. Set its borders and padding to 0.
You'll need to set the Vertical Alignment to Top for all the cells in this table.
Set the background of your page to black.
Now just make multiple copies of this page, link them together (through your hotspots / image maps), and edit each one, before uploading to your web hosting provider.
