


Glitter Swirls – Page 1 of 2
Using a dotty brush, a rainbow gradient, and lots of distortion, this tutorial goes through the steps to creating a swirly, glittery website layout.

1 – Using a Channel
 In the Channels window, click the Create New Channel button. If the Channels window isn't visible, click Window > Channel.
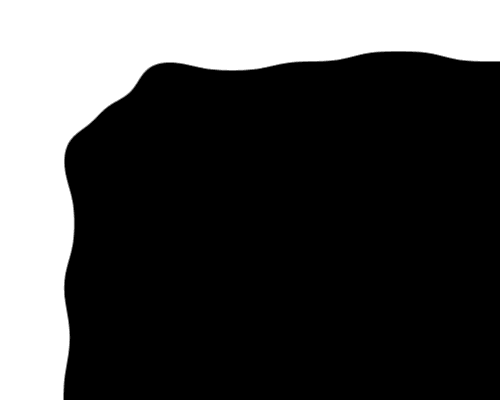
The area should now be black. This is your blank channel.
 Use the Selection Tool, and select an area like the one shown in the diagram. Hold Shift when you make each selection. This adds the area to your selection, instead of making a new selection.
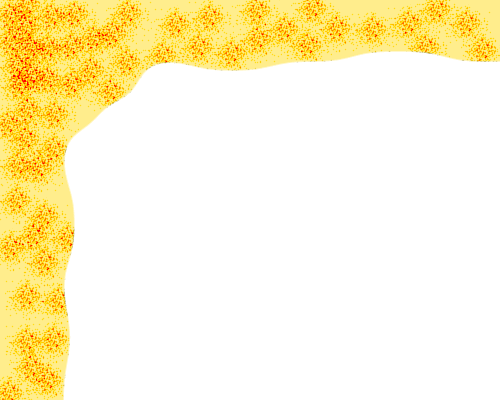
 Fill the area with white.
If you plan on making a website from the results of this tutorial, you'll need to make sure the graphics end in a logical way at the edge of the image (i.e. they don't just stop suddenly.) One way to achieve this is to make this white area end before the edge of the window. Another method is to make the image 1600 pixels wide, so you can set it as the background of a 100%-wide table in your web editor.
2 – Blurring and Levels
Click Filter > Blur > Gaussian Blur, and enter a Radius of around 15 pixels. This turns your jagged square corners into a blurry mass.
To re-solidify this mass, press Ctrl+L to bring up the Levels window. In this window, there should be a graph with three sliding arrows underneath it. Drag the left and right arrows in, so that they're very close to the central arrow.
This technique is useful for creating all kinds of irregular-shaped elements.

3 – Creating a filled region
In the Channels list, Ctrl+Click on the "Alpha 1" layer, to select its outline. This is the curvy layer you created in the last step.
Go back to the Layers window, and create a new layer.
Choose a light yellow colour, and fill the area.
Remember to keep the area selected. If you deselect the area at any time, you can Ctrl+Click its layer to select it again.
4 – Adding some burn
 Choose the Brush Tool. At the top left of your screen, you should see the word "Brush". Click the drop-down arrow next to it, and scroll down about a tenth of the way. Try to find the dotty brush that has a size of 46. (In Photoshop 5.5, you'll need to click Window > Show Brushes.)
Change the brush's mode from Normal to "Color Burn", and start dabbing away with it on your image. The idea is to make dots. Press Undo (Ctrl+Z) if you accidentally make a big smear.
