


Using Photoshop to make Metallic Buttons and Menus
This tutorial uses Gloss Contour, a feature only present in Adobe Photoshop 6.0 and later versions.
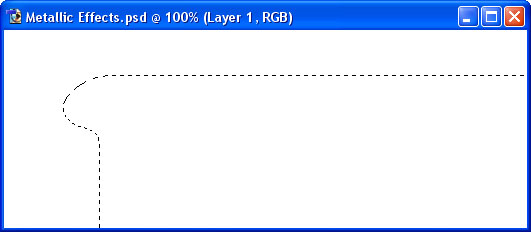
1 – Selecting an area in Photoshop
In Adobe Photoshop, create a new image.
 Use the Selection tool to select the shape you want your menu to be. Keep in mind that you'll want to have buttons on it, so leave some space.
 I've used the Freeform Pen Tool to create my selection here, but it's not necessary to do so.

2 – Silver and gold
In this example, I'll be creating silver and gold effects, though it is also possible to make chrome, copper, and other metals in Photoshop.
Choose an orangey-yellow and a medium grey.

3 – Filling the areas with the Paint Bucket
 Create a new layer.
Press Ctrl+Backspace to fill the large area with the background colour (grey.)
Select a button-sized rectangle (or you can use the Shape Tool to create a Rounded Rectangle.)
Create a new layer.
Press Alt+Backspace to fill the area with the foreground colour (yellow.)
Still with the selection tool, drag the selection down below the grey area. (You can hold Shift to make it go straight down.)
Press Alt+Backspace again, to fill the area with yellow.
Press Ctrl+D to deselect.
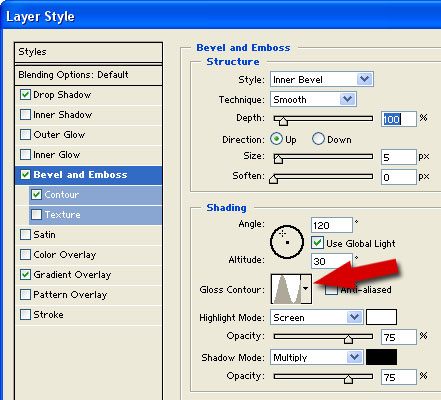
4 – Applying Effects to the menu and buttons
On the layers list, select your grey layer and double-click on it (or Right-click, Blending Options.)
Tick the four effects at the left, as shown on the diagram.
Drop Shadow and Contour need no alteration.
Click on Bevel and Emboss, and change the Gloss Contour to "Ring". This gives the object nice, shiny edges. If you don't do this, you'll end up with the normal bevel effect, which makes your object look like play-dough.
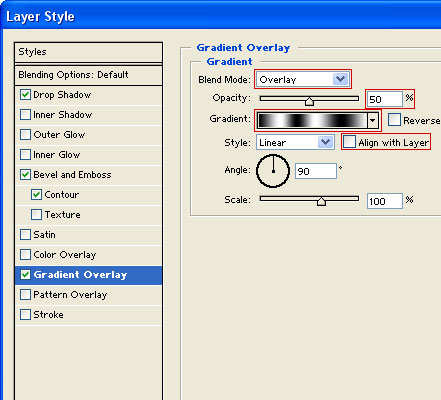

5 – Changing the Gradient Overlay settings
Set the variables as shown. I've highlighted the options that need to be changed.
To change the gradient to the zebra pattern in the picture, click on it. (Don't click the arrow.) In the gradient window, insert a few new black and white tabs, as shown.
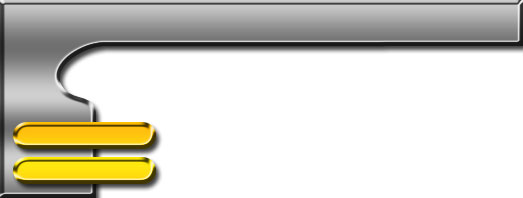
6 – The finished product
In the layers list, right-click on your grey layer, and click Copy Layer Style.
Click on each of your button layers, and press Paste Layer Style.
There you have it, a nice silver menu bar, with gold buttons. Put black text on your buttons, and you're done.
