


Foliage – Creating Leaves and Flowers in Photoshop – Page 2 of 2
This page of the tutorial covers creating leaves, and turning the design into a web page.
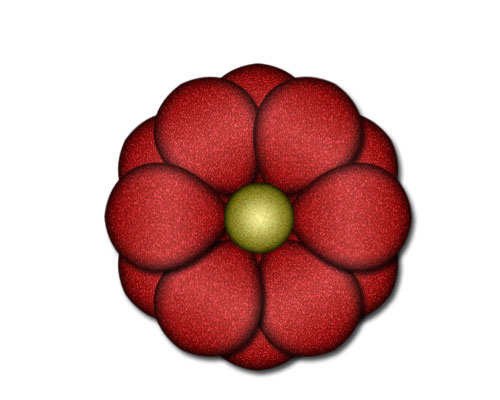
6 – Finishing Touches
Duplicate this layer.
Click Ctrl+T to Transform it. Hold Shift and rotate the layer one notch.
 Create a new layer.
 Choose the Elliptical Selection Tool. Select a circular area in the centre of the flower. (Hold Shift while you drag, to make your area perfectly circular.)
 Choose a yellow colour, and fill the area with the Paint Bucket Tool.
Set your colours back to black and white. (Click the icon, or press "D")
Press Ctrl+D to deselect.
Click Filter > Noise > Add Noise. Set it to around 10%, Gaussian, Monochromatic.
Right-click this layer in the Layers list. Give it an Inner Glow, but change the colour of the Inner Glow to black. (Click on the little coloured square, below the word "Noise".)
Also add a Gradient Overlay. Set the Opacity to 60%, Tick the Reverse box, and set the Style to Radial. Press OK.
Make the background disappear again, and click "Merge Visible".

7 – Creating the Shape of a Leaf
Click File > New. Choose your settings, and press OK.
As you did with the flower, create a green ellipse shape, rotate it, and delete all but a piece at the edge. Duplicate that piece, flip it, and merge them into one layer.
See Step 1 if you've forgotten how to do this.

8 – Adding Texture and a Gradient
Click Filter > Noise > Add Noise. Set it to around 10%, Gaussian, Monochromatic.
Ctrl+Click your leaf layer in the Layers list.
Create a new layer. Change its Mode from Normal to Overlay.
 Choose the Gradient Tool and apply it from left to right, across your selected area.

9 – Adding Veins to the Leaf
Create a new layer.
 Choose the Brush Tool. Click the drop-down box and choose the size 9 blurry brush. Set the brush's Opacity to 20%. Draw a slightly wavy line down the centre of your leaf.
Choose a size 5, blurry brush, and then paint in the side veins.
Create a new layer.
Select the size 17, blurry brush. Paint two rough, white lines—one down each side of the leaf. Change your colour to black, and paint down the main vein, and around the edges of the leaf.
Turn the background layer off, and click Layer > Merge Visible.

10 – Creating Repeating Elements
You will need to create four new images here. These images will repeat along the top, bottom, and sides of your web page. The image shown above is something like what your top image should look like.
 Choose the Move Tool, and drag across flowers and leaves from your other images.
Use Ctrl+T to resize the flower. Hold shift while doing this, to stop the flower distorting.
For each of this images, click File > Save for Web. Choose Jpeg, Quality 60.
| Top Repeater | ||
| Left Repeater | Text | Right Repeater |
| Bottom Repeater | ||
11 – Setting up Your Web Page
In your web editor program, Insert a table with a width of 100%
Give it three rows, and break the second row into three columns. Set the width of the left and right cells to whatever the width of your left and right images are. don't give the "Text" cell a width.
Set your header image as the background of the cell labelled "Head Repeater". Do likewise with your other images.
These images will repeat as many times as is necessary to fill up the whole height and width of the screen.

12 – The Finished Product
For headers, a nice touch is to create small header images in Photoshop. I've used Garamond font here, but I've increased the size of all the capital letters, and changed them to Monotype Corsiva font. Please resist the urge to bevel or shadow these images. :)
